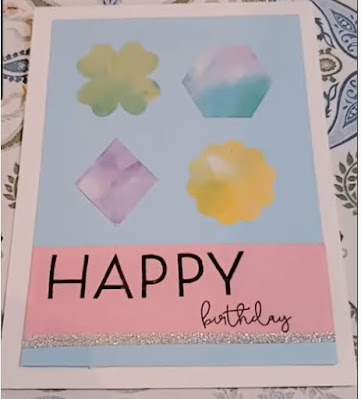
There are so many fun folds I still haven't tried...but now I can check off trying the "impossible card" which turns out to be pretty possible. I focused on the technique of making the card on this one. The decorations were totally simple. But the colors, the card design, and the cute dollar tree finds, made this such a super cute card. This does take a little math and I will leave down below the measurements for you that I hope along with the video will help. This card is for Craftyhazelnut's June Patterned Paper Challenge. You can go check it out here.
You can also see the video for this over on my YouTube channel...found here.
To make the card start with 110lb or more piece of cardstock that measures 4 1/4 x 5 1/2.
Find the midpoint on the 4/14 side at 2 1/8 and draw a pencil line down it.
On one side of the 5 1/2 side find the midpoint @ 2 3/4 inches and draw a line up to the midpoint on the 4 1/4 side.
Turn the card and on the other side measure in 1 inch on each side and draw a line up to the 1/2 point again on the 4 1/4 side.
You are going to cut up all these lines.
Then you are going to score on the 4 1/4 inch side between the two cut marks that are 1 inch from each end.
Then rotate the right-hand side of the card folding the score lines (see the video for this part).
To make the patterned paper layer cut two pieces that are 2 1/4 x 4.
On the 2 1/4 side at 3/4 inch in cut up to 2 1/8 or sink the blade at 2 1/8 and cut down. Do this to the other piece as well.
Be sure to note which way to cut so the pattern you want to show will face up on the card.


