Blog Background

Showing posts with label Christmas project. Show all posts

Saturday, December 9, 2023

Flat Shaker Snowflake Gift Tags

I kept eyeing these 3 x 3 pieces of cardstock with the negative snowflake image I had after making last month’s sheetload of cards.  I had to use them.  I could not let them go to waste; they were too cute.  It also allowed me to use up some other 3 x 3-inch scraps of white cardstock as well. 

I decided I wanted to make some cute flat shaker gift tags with them.  The to and from is on the back.  These didn’t take long to make at all.  I hope you think of this if you want to try to make your own, if not I do have these up for sale in my Etsy shop.  Just see the link below if you would like to purchase them.

I hope you enjoy my flat shaker gift tags.


To see the video of these tags being created please head here.

Thank you for stopping by my blog. I hope you find things that inspire you. I love this hobby so much, so I enjoy sharing my cards with all of you. Hope to see you all soon. If you wish to support this channel even more, please see the buy me a coffee link over on the right banner. Have a great day! Happy Crafting!


Saturday, October 28, 2023

Using Negative Space to Stamp Layered Stamps on Die Cuts

 I recently did a longer video on my channel (the first one in a while) showing how I make “die cuts” using my Cricut for my stamped images. Here is this short I get to show you then how to use the negative space of those cuts to do the stamping portion. Hope you find this helpful. This is not the only way to do this process for sure. Thank you to Jennifer McGuire who is so inventive in helping us stampers figure out better ways to do this, but if you are a beginner you may already have these tools so your won’t have to go buy a new product to do this. Thank you for stopping by and checking this out. The final cards are for sale in my etsy shop so please use the link if you are interested in checking them out.


To see the video of this card being created please head here.

Thank you for stopping by my blog. I hope you find things that inspire you. I love this hobby so much, so I enjoy sharing my cards with all of you. Hope to see you all soon. If you wish to support this channel even more, please see the buy me a coffee link over on the right banner. Have a great day! Happy Crafting!


Saturday, December 17, 2022

It's a Stitched Christmas


Here's a little peek at all the stitched Christmas Cards I will be sending to families and friends this holiday season. Here is a video version if you want to check it out, here.

Thursday, December 15, 2022

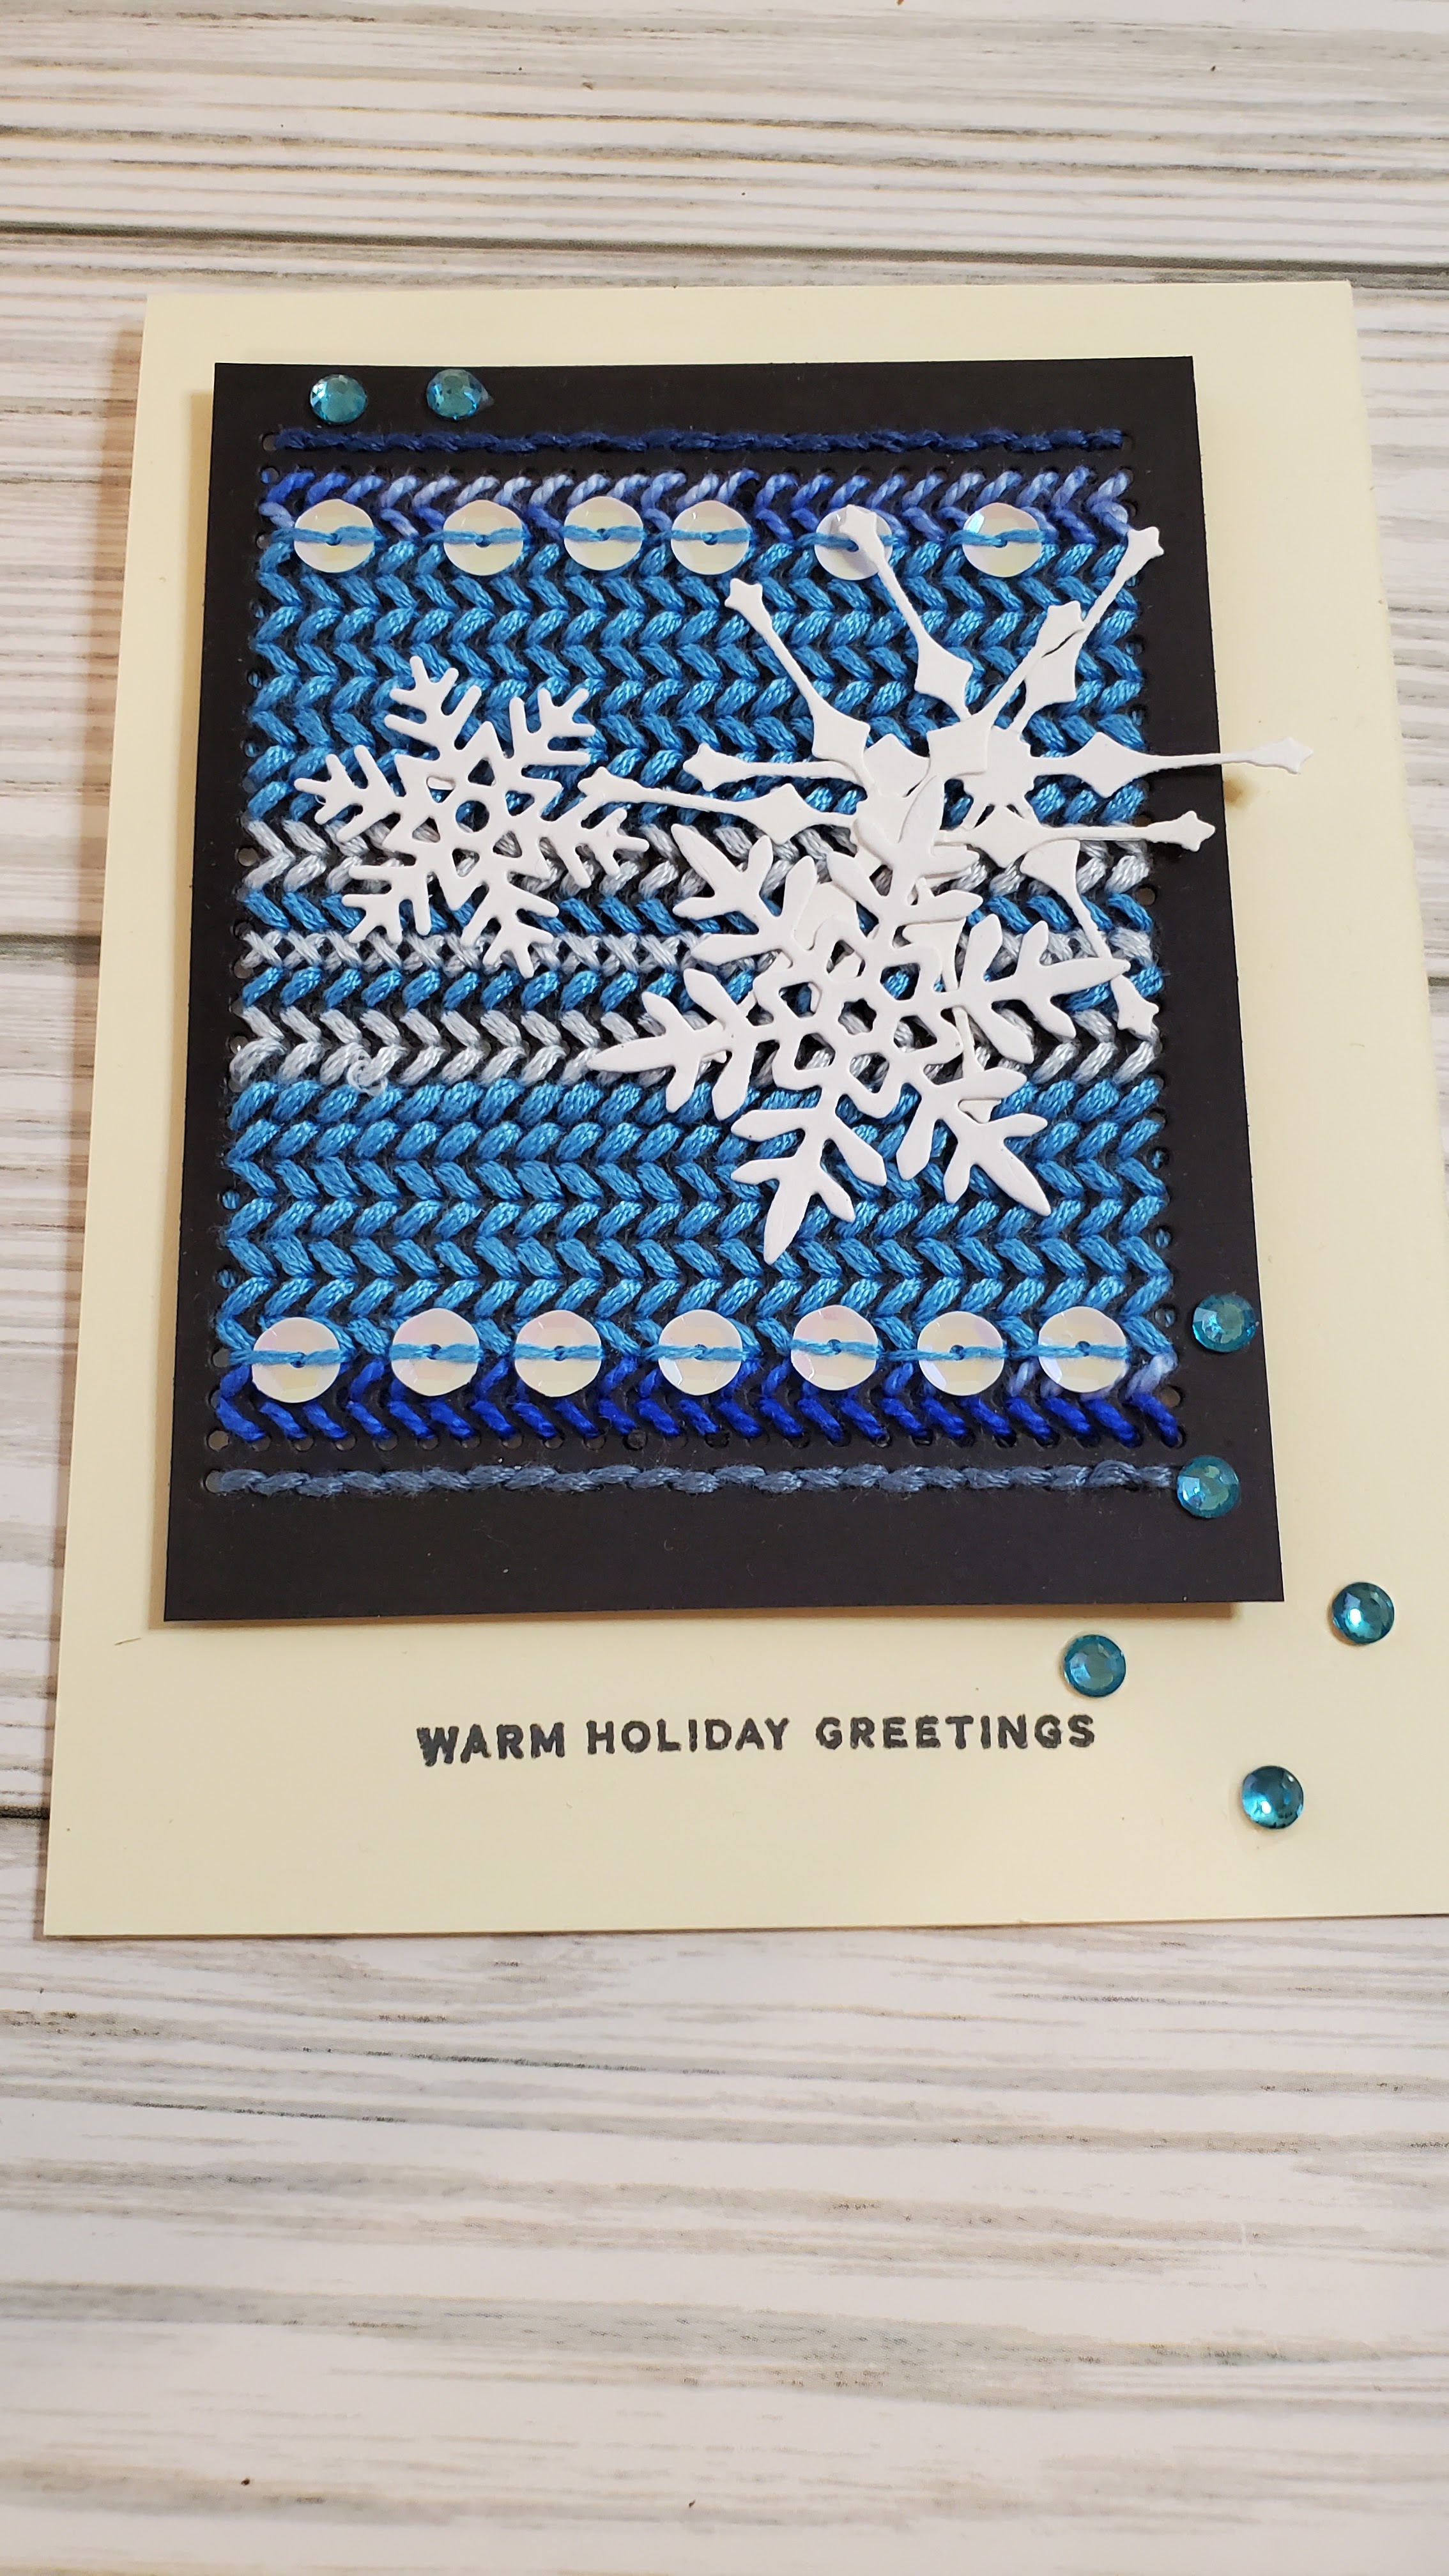
Adding Sequins to Stitched Cards


I recently added beads to a stitched piece for a card, so now it was time to try sequins. A beading needle is a must. Just FYI. I show you how I added the sequins in the video here.

Tuesday, December 13, 2022

Christmas Tree Made with Scrap Paper


 There is still time if you want to make simple, quick Christmas cards like this one. Just need a few scraps of paper and markers. To see the quick one-minute video for this card head here.

Friday, December 9, 2022

12 Tags of Christmas

So for the first time ever, I decided to do 12 Tags of Christmas.  I focused on simple designs, that I thought those who are new to crafting could do with only a few supplies.  I think I did pretty good with that thought in mind.  I leaned heavily on my washi stash ('cause I need to use it up somehow).  There is a video to look at all of these closer that you can find here.  But if you want to see anyone of these being made, head on over to my YouTube channel here to see the 1 minute or less video for each one.  


Friday, December 3, 2021

OK THE DEADLINE FOR CHRISTMAS CARDS IS APPROACHING BUT ...


 You still have time to do this one!  You will need paint, a couple of markers, and something to top the tree.  I used a Snowflake sequin.  You can do it!

Thursday, December 2, 2021

One More Simple Chrismas Card... The Absolute Easiest!


 Yes, I know I keep saying it..but there is still time to make a few Christmas Cards if you want to. This time I used a simple Dollar Tree Tag as the focal point. I added some sequins with white gel pen dash marks to end up with this super simple but festive card.

See the Minute to Win It Video here.

Monday, November 29, 2021

There is Still Time- Make a few Christmas Cards.


🎅🏻Some cardstock, washi, twine, and a pen equals a cute simple Christmas card. Hurry you still have some time to get a few made and sent. To see the video head here.


Saturday, November 27, 2021

Simple Christmas Card-Great for a Beginner Cardmaker


Got some cardstock, washi tape, glue, and twine? Then you can totally do this. This is great for mass-producing. You still have time to make a few cards if you want to get these out. This is a great card for beginner card makers. It also would put a good dent in your washi if you are making lots of cards...so use up your stash!


For the video that goes with this card click here.

Sunday, December 27, 2020

 Better late than never, Right? 🎁⭐ My work life has been a bit stressful lately. Hence the reason I am just loading up this content to YouTube. However, I still wanted to share it since it could be used for any gift-giving event. Just swap out the bling and color of the bag. For this gift bag, I went simple with Dollar Tree elements to make it simple enough for anyone. I used a bag from the Dollar Tree, added the bling, and the closure is a simple bow with a star paperclip (also from the DT). Check out the video by finding the link here.

Wednesday, December 16, 2020

Decorating Gift Bags for Christmas: Option 2


Ready to wrap those presents?🎁 Why not add a little pizazz to them? This time I used some simple stamping, a bit of texture paste, and a few embellishments to step up this plain red bag from Dollar Tree. I don't think I would do this for every gift bag, but adding to these gift bags for those special folks I am giving to has been a lot of fun. This one is pretty simple. Just a bit of stamping along with using a stencil and texture paste...voila', you have a winter wonderland. These are the bags I usually gift some of my A2 cards to friends. It holds 10 cards/envelopes nicely. Stamping on these bags and using some of my embellishments also helps me to use the cute stuff in my stash. For the easiest way to step up a gift bag stay tuned and later this weekend, you'll see the easiest way to bling out a bag. 😁


The video for this bag can be found HEREHope you will take the time to check it out.

Sunday, December 6, 2020

Decorating Gift Bags for Christmas: 3 Options


 Guys...I don't need anymore🎅 Christmas Cards! So I started dressing up the bags I will use to wrap presents🎁. I made so many cards back in July as part of the Christmas in July series along with so many other cardmakers. You can see these if you scroll back on my Instagram feed. Here is one of the three options I came up with for decorating gift bags. This is definitely the more complicated approach of the three options I will be sharing. I was inspired by a similar project by Mixed Up Crafts on YouTube. The link to her much more polished tutorial is in a link in the description of the YouTube Video I made of putting this bag together. I hope you will head on over to my YouTube Video to check it out. You can find that video here.

Wednesday, November 18, 2020


I wanted to share a tutorial of this gift card holder I designed in Cricut Design Space last year. I have updated it a bit. I still love this project. It came together just as I had imagined in my head (that doesn't often happen around here). I hope you will check out my YouTube video tutorial. If you have Design Space I will be happy to share the project for a small fee which I discuss in the video. I also have a few of these made if you need one but don't have the time. I can mail one to you...again for a small amount.
Head on over to my YouTube channel HERE to view the tutorial.

Sunday, December 10, 2017

Christmas gifts

 This year I wanted to do something for all my co-workers.  Something cute that doesn't break the budget.  I turned to my favorite places of course:  Youtube & Pinterest.  These magnet clothes pins that are glamed up are everywhere.  

I thought they would be perfect.  This would lead to me using my stash.  I could do these assembly style which is great to do while watching TV.
I also knew I could make the packaging super cute.  Most of my main project needs came from the Dollar Tree:  The clothes pins, the bags for packaging, and some of the embellishments.  Everything else came from what I already had or from Michael's.  The mod podge and magnets I got from Michael's using that handy 25% off my entire purchase coupon.  😉


The clothes pins were topped with either washi from my stash or paper.  A layer of glossy mod podge I added to the top for a nice shine.  I just added the magnets to finish them off.  I cut paper to pin them on.

I put four pins in the clear bags I got from Dollar Tree.  These I topped with doileys I had in my stash.  Of course, then I had to turn on the Cricut.  It was feeling left out.  So I used the Cricut to make the "For You" labels.  I felt it was missing something so I added snowflake stickers to the label as well.

Below is a video is you want a close look.  Happy Crafting!


Sunday, December 3, 2017

Christmas ornaments


This is totally from Pinterest.  I am sure you have seen this one around.  Each year I try to make at least one new ornament for the tree.  This year I have made 4 so far.

These cute knit hats were the first three.  I used some very wide yarn I already had on hand.  Since the yarn was pretty wide it did not take many strands to cover the toilet paper cardboard roll that I cut to make the band of the hat.

Seriously, I finished all three of these in probably half an hour if that long.  I completed while watching some TV.  What new crafts are you trying out this Christmas?


Saturday, August 26, 2017

Christmas in July Review

Wanted to show you how I have been spending my recent "play" time.  In July, over the course of about 3 weekends I turned an entire paper pad into cards.  I used some sketches for some, other's I just made into cards with what was left over.  

I also made some boxes to store the cards/envelopes in.  I am proud of myself for using almost all of the paper pad.  I used lots of embellishments from my stash, so I am 😊.

The video above gives an overview of what I did.  I did use some stamped images as well.  I used a Stampendous set Sending Loads of Christmas Wishes, a Recollections Merry Christmas set, one Papertrey Ink sentiment, and then a collection since I used I can no longer locate.  How in the world I could lose an entire stamp set I do not know.


I hope this inspires you!  The inspiration to do this project came from a Youtuber I just recently discovered Kristie Marcotte.  You can find her channel here.

I have also added some pictures of some of the cards, in case you want to take a second look.💝